
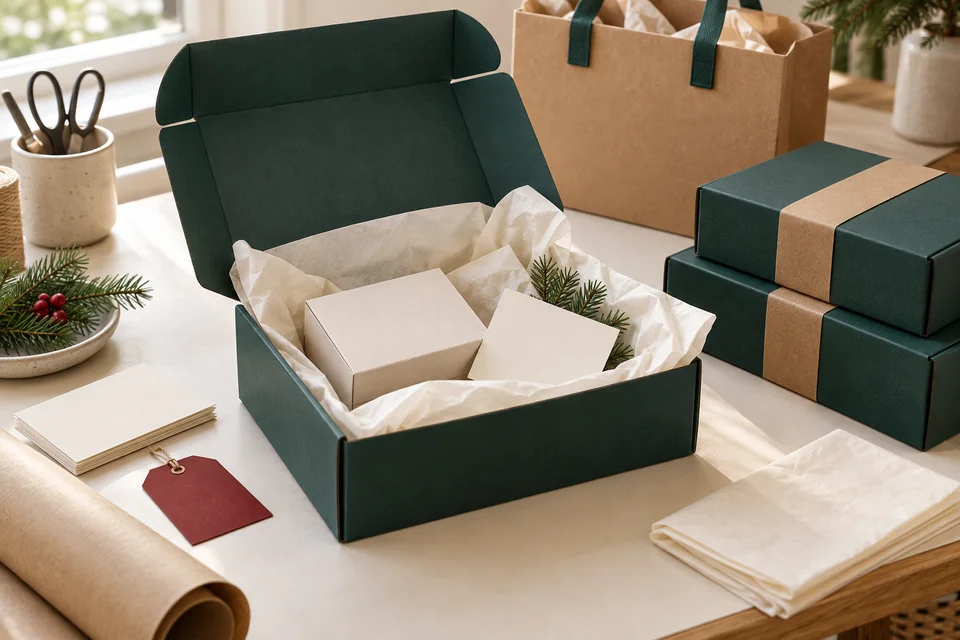
Christmas packaging should feel thoughtfully prepared while remaining practical for repeated packing. A photo-ready design with too many steps can slow fulfilment and cause misplaced cards or missing accessories at peak demand. Design the opening experience and the packing process together, rather than approving appearance in isolation.
1. Keep the brand and add a seasonal layer
Choose one manageable Christmas accent: a paper sleeve, greeting card or tissue colour. Check it against the existing palette and logo so the brand stays recognisable. A replaceable detail can communicate the season without redesigning the complete box.
Across gift ranges, keep logo placement and message position consistent. Use a clear code to identify versions at the packing station. For personalised greetings, agree how messages are entered, checked and matched to orders.
2. Separate presentation from shipping protection
An attractive carry bag can suit an in-store handover without being sufficient for shipping. Fragile or multi-item gifts may need retaining inserts, cushioning and an outer carton. Check product removal after transport assessments appropriate to the intended delivery route.
Tissue can improve presentation and reduce surface rubbing in some situations, but it does not replace necessary impact protection. Give each layer a clear role instead of adding layers simply for visual complexity.
3. Describe the opening sequence as actions
Map removing the sleeve, lifting the lid, reading the card, unfolding tissue and taking out the product. Check whether the recipient understands the next step without personal instruction. Avoid seals that hide the opening point or cards that fall out too soon.
Ask someone unfamiliar with the sample to open it. Observe pauses, difficult steps and the risk of dropping goods. If an accessory does not protect, communicate or support recognition, compare a version without it.
4. Run a continuous packing trial
Prepare the actual boxes, inserts, tissue, cards, labels and outer packaging. Have staff pack several sets using the intended instructions and record time, errors and rework. Do not rely only on the designer's practiced packing speed.
A planning example: adding 20 seconds to each of 600 sets adds 200 minutes of handling, before breaks or rework. This is an illustrative calculation, not SquareBag productivity data or a commitment. Base the decision on measurements from the packing team.
5. Plan materials around the sales schedule
Estimate sets by channel, size and greeting version. Agree a reserve based on order variability and replenishment options. Set sample approval, artwork lock, material delivery and trial milestones; confirm actual lead times for the specification and production plan.
Separate seasonal components from core packaging to limit leftover stock. A replaceable sleeve or card may let the core box serve another campaign, provided fit and removal without surface damage have been checked.
6. Measure both experience and operations
Track card mismatches, shortages, packing time, damage and opening feedback. Compare results with the original goals to locate design or workflow changes. Attractive photos and video views do not establish an increase in sales.
Disposal guidance should match each component and the receiving collection system; do not label every decorative detail recyclable. Share a gift sample, estimated quantity, delivery channels and sales dates with SquareBag to select a trial approach before production.
Discuss your specification with SquareBag
Explore this topic